How to Make an Image Transparent: Free Methods
Making an image transparent means one of two things depending on what you are trying to do. You are either removing the background from an image to leave only the subject on a clear canvas, or you are reducing the overall opacity of an image so it blends into a design. Both are useful. Both work differently. This guide covers both clearly, using tools that are free or widely available.
What "Transparent" Actually Means in Image Editing
A transparent background is not white and it is not black. It is the absence of any color in that area. In image editors, it shows as a grey and white checkerboard pattern. That pattern is the indicator that transparency is working correctly.
Only certain file formats support transparency. PNG supports it fully. SVG supports it. GIF supports one level of transparency. JPEG does not support transparency at all. If you save a transparent image as a JPEG, the transparent areas will be filled with white.
This is the most common mistake people make when trying to get a transparent background. The method works correctly, but the file format removes the result. Always save transparent images as PNG.
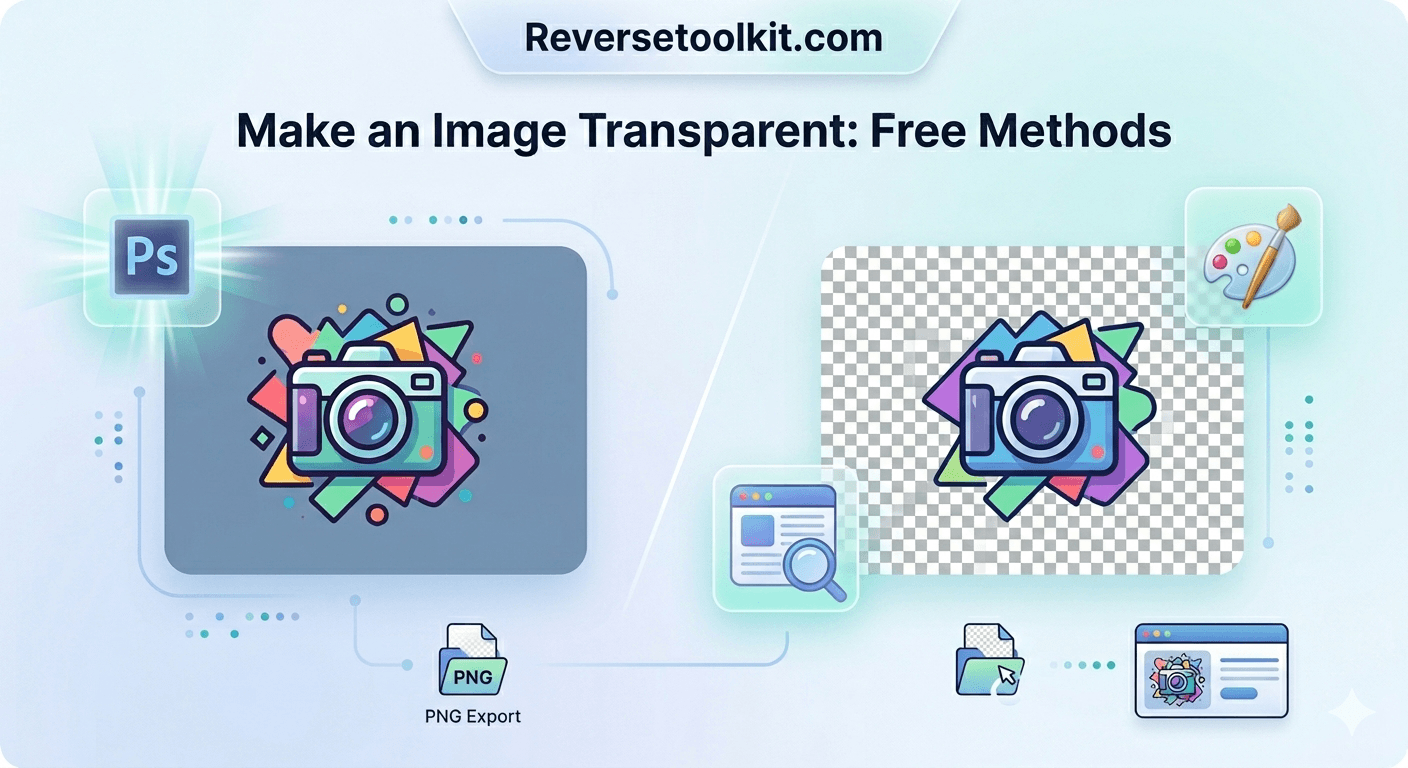
Method 1: How to Make an Image Transparent Using a Browser Tool
For most use cases, a browser-based background remover is the fastest way to get a transparent image. No software, no account, no file size restrictions.
Step 1: Go to ReverseToolkit Background Remover.
Step 2: Upload your image. The tool accepts JPEG, PNG, and WebP files.
Step 3: The tool detects the subject automatically and removes the background.
Step 4: Download the result as a PNG with a transparent background.
The entire process takes under ten seconds for most images. It works well for product photos, profile pictures, logos, and signatures. Everything runs in your browser, so no files are sent to a server.
Method 2: How to Get a Transparent Background in Photoshop
Photoshop gives you the most control over how a transparent background is created, especially for images with hair, soft shadows, or complex edges.
Step 1: Open your image in Photoshop.
Step 2: In the Layers panel on the right, double-click the Background layer. A dialog box will appear asking you to name the layer. Click OK. This converts it from a locked background to an editable layer.
Step 3: Select the Quick Selection tool (W) from the toolbar. Paint over the subject you want to keep. Photoshop builds a selection around it automatically.
Step 4: For detailed edges, click Select and Mask in the top toolbar. Increase Edge Detection Radius and use the Refine Edge Brush to capture hair and soft edges cleanly.
Step 5: Once satisfied with the selection, click OK.
Step 6: Go to Select, then Invert. This flips the selection to the background.
Step 7: Press Delete. The background is removed.
Step 8: Go to File, then Export As, and choose PNG. Make sure Transparency is checked in the export options.
For photos where every pixel matters, this method gives the cleanest result.
Method 3: How to Make an Image Transparent in Canva
Canva has two types of transparency controls. One adjusts the opacity of an entire element. The other removes the background from an image. They are different tools for different goals.
To reduce overall opacity in Canva:
Step 1: Click on the image you want to make transparent.
Step 2: Click the Transparency icon in the top toolbar (it looks like a half-filled square).
Step 3: Drag the slider to reduce opacity. Lower values make the image more transparent.
This is useful for placing watermarks, creating layered design effects, or blending images into backgrounds.
To remove the background in Canva:
Step 1: Click on the image.
Step 2: Click Edit Image in the top toolbar.
Step 3: Click Background Remover. Canva detects and removes the background automatically.
Step 4: Download as PNG to preserve the transparency.
Note: Background Remover in Canva requires a paid Canva Pro subscription. The opacity slider is available on the free plan.
Method 4: How to Make a Logo Transparent
Logos are often delivered as JPEG files with a white background, which causes problems when placing them on colored backgrounds in presentations, documents, or websites. Making a logo transparent solves this permanently.
If the logo is on a solid white background:
A browser-based background remover handles this in seconds. Upload the logo, the white background is detected and removed, and you download a transparent PNG. This works for the majority of logos.
If the logo has gradients, shadows, or complex colors near the edges:
Use Photoshop with the Magic Eraser tool set to a low Tolerance value. Click on the white background area and Photoshop removes it. Undo and reduce Tolerance further if any of the logo color is removed along with the background.
If the logo is in SVG format:
Open it in a text editor or Adobe Illustrator. Find the rectangle or path element that represents the background. Delete that element and save. SVG files do not need a special export step because transparency is built into the format.
For recurring logo work, keep a transparent PNG version of your logo saved separately. It drops into any design, presentation, or document without background issues.
Method 5: How to Make an Image Transparent in Microsoft Paint and Paint 3D
Standard Microsoft Paint does not support transparency. It has a transparency selection mode that works during the editing session, but saving a PNG from Paint will fill transparent areas with white.
In Paint 3D (available on Windows 10 and 11):
Step 1: Open your image in Paint 3D.
Step 2: Click Magic Select in the top toolbar.
Step 3: Drag the selection box around the subject you want to keep.
Step 4: Click Next and use the Add and Remove tools to refine the selection.
Step 5: Click Done. The subject appears on a transparent canvas.
Step 6: Go to Menu, then Save As, and choose PNG. Make sure Transparency is toggled on.
Paint 3D is a reasonable option for basic background removal on Windows without installing additional software, though results on complex images are limited.
How to Get Rid of a Transparent Background
Sometimes the goal is the opposite. You have a PNG with a transparent background and you need to add a solid color behind it, for example to prepare an image for JPEG export, email, or printing.
In Photoshop:
Open the PNG. In the Layers panel, click the New Layer button and drag the new layer below your image layer. Use the Paint Bucket tool to fill the new layer with white or any color. Flatten the image and export as JPEG.
In Canva:
Upload the transparent PNG. Click on the image, then click the background of your design. Change the page background color to white or your preferred color. Export as JPEG.
In a browser:
Most image editing websites allow you to set a background color before downloading. This converts the transparent areas to a solid fill.
Frequently Asked Questions
Why does my transparent image show a white background after saving? You saved it as JPEG. JPEG does not support transparency and automatically fills clear areas with white. Re-save or re-export the file as PNG.
What is the checkerboard pattern I see when an image has a transparent background? The grey and white checkerboard is the standard visual indicator for transparency in image editing software. It means the area has no color. The checkerboard itself will not appear in the final file.
Can I make only part of an image transparent? Yes. Any selection-based method in Photoshop or GIMP allows you to apply transparency to specific areas while leaving the rest of the image unchanged. You select the area you want to make transparent and delete it after adding an alpha channel.
Does making an image transparent reduce its quality? No. Removing a background from an image does not reduce the quality of the subject that remains. The pixels of the subject are unchanged. PNG is a lossless format, so there is no compression quality loss during export.
What is the best file format for a transparent image? PNG is the best choice for most purposes. It supports full transparency, is lossless, and is universally compatible with design tools, websites, and documents. Use SVG for logos and icons that need to scale to any size without quality loss.
Transparent images make design work cleaner. Logos drop onto any background, product photos sit on colored slides, and profile pictures integrate naturally into any layout. The method you choose depends on your tool and the complexity of the image, but for most cases the fastest path is a browser-based remover that handles the detection automatically and gives you a PNG in seconds.