Cut Out Tool: Free Online Image Cutout
Cutting out an image means isolating a subject from its background so the subject can be placed on a new background, used in a design, or saved as a standalone element. It is one of the most common tasks in design, marketing, and content creation, and it comes up in situations that do not always involve professional software.
This guide covers every practical method for cutting out an image, from browser tools that work in seconds to manual approaches in free software for situations that need more precision.
What a Cut Out Tool Actually Does
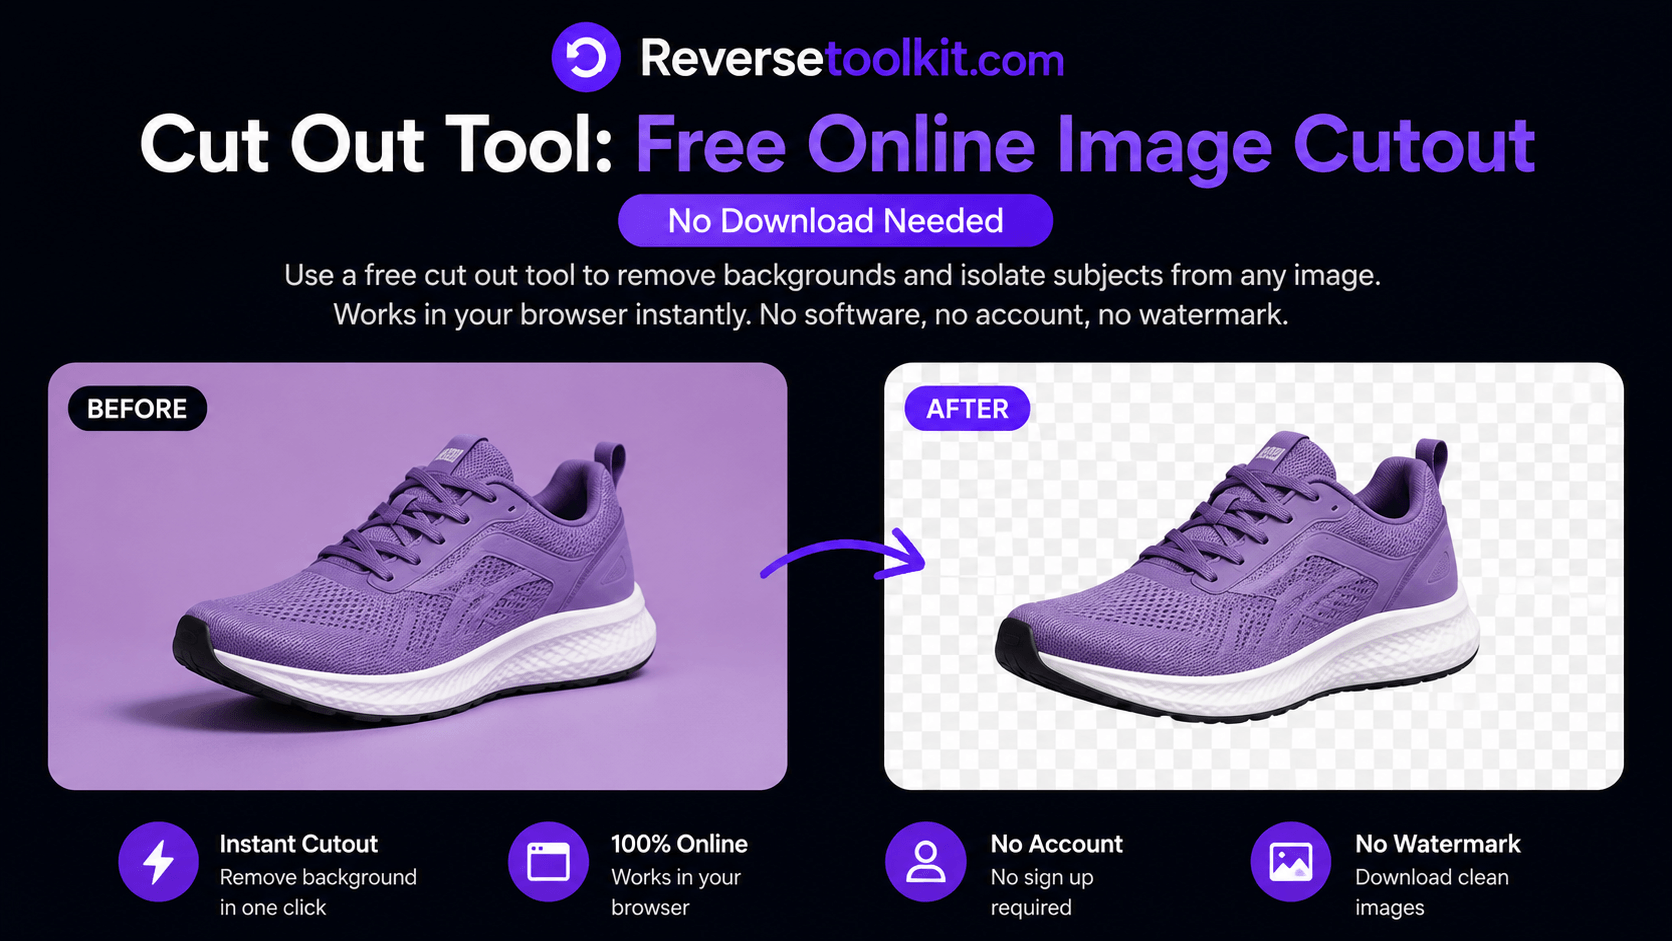
A cut out tool detects the boundary between a subject and its background, removes the background, and outputs the subject on a transparent canvas. The result is a PNG file where the area around the subject is clear rather than filled with a color.
Modern cut out tools use AI to detect edges automatically. You upload an image, the tool identifies the subject, and you download the result. No manual selection, no tracing, no experience required.
Manual cut out tools, like the selection tools in GIMP or Photoshop, give you more control over the result but take significantly longer. For most use cases, an AI cut out tool produces results that are accurate enough in a fraction of the time.
Method 1: Cut Out an Image Using a Browser Tool (Fastest)
No software installation, no account, and no cost. This is the most practical option for quick cutouts on product photos, headshots, logos, and marketing images.
Step 1: Go to ReverseToolkit Background Remover.
Step 2: Upload the image you want to cut out. JPEG, PNG, and WebP are all accepted.
Step 3: The tool detects the subject and removes the background automatically.
Step 4: Download the result as a transparent PNG.
The cutout is ready to use in Canva, PowerPoint, Google Slides, Photoshop, or any other design tool. Because everything processes in your browser, your files stay on your device.
This method works particularly well for:
- Product photos where the subject is clearly separated from the background
- Headshots and profile pictures for professional use
- Logos delivered as JPEG that need a transparent version
- Signatures that need to be placed on documents
Method 2: Cut Out Tool in Canva
Canva has a built-in background removal feature that works as a cut out tool for images already in your Canva project.
Step 1: Upload your image to Canva or place an existing image on your canvas.
Step 2: Click on the image to select it.
Step 3: Click Edit Image in the top toolbar.
Step 4: Select Background Remover from the left panel.
Step 5: Canva removes the background automatically. Use the Erase and Restore brushes to clean up any areas that were incorrectly removed or kept.
Step 6: Click Apply and download your design as PNG to preserve the transparency.
Canva's cut out tool is convenient if you are already working in Canva. It is part of the Canva Pro subscription, so it is not available on the free plan.
Method 3: Manual Cut Out in GIMP (Free Desktop Software)
For images where automatic detection fails, such as subjects that blend into a complex background, manual cut out in GIMP gives you full control.
Step 1: Open GIMP and load your image.
Step 2: Go to Layer, then Transparency, then Add Alpha Channel. This prepares the image to hold transparent areas.
Step 3: Select the Paths tool (B) from the toolbox.
Step 4: Click around the edge of the subject, placing anchor points at each change in direction.
Step 5: Close the path by clicking back on the first anchor point.
Step 6: Go to Select, then From Path to convert the path into a selection.
Step 7: Go to Select, then Invert to flip the selection to the background.
Step 8: Press Delete to remove the background.
Step 9: Export the file as PNG via File, then Export As.
GIMP's manual cut out process takes more time but produces precise results on any image regardless of how complex the background is.
Method 4: Cut Out Tool in Microsoft PowerPoint
PowerPoint has a built-in background removal tool that works as a basic cut out tool for images in presentations. It is useful when you need a quick cutout without leaving the application you are already working in.
Step 1: Insert your image into a PowerPoint slide.
Step 2: Click on the image to select it.
Step 3: Go to the Picture Format tab in the ribbon and click Remove Background.
Step 4: PowerPoint highlights the detected background in pink. The area it intends to keep is shown in normal color.
Step 5: Use the Mark Areas to Keep and Mark Areas to Remove buttons to correct any errors in the automatic detection.
Step 6: Click Keep Changes when the result looks correct.
Step 7: Right-click the image and select Save as Picture. Choose PNG to preserve the transparent background.
This is a practical option for presentations where you need to cut out a logo or product image without switching to another application.
Method 5: Cut Out Tool in Google Slides
Google Slides does not have a native background removal feature, but you can use a transparent PNG created with any other method and place it directly into your presentation. The transparency is preserved when the image is inserted.
If you need to cut out an image while working in Google Slides, the fastest workflow is to use a browser-based cut out tool in another tab, download the transparent PNG, and insert it into your slide.
Choosing the Right Cut Out Method for Your Situation
Different situations call for different tools. Here is a quick reference:
For speed on clean images: Browser-based cut out tool. Results in under ten seconds with no software required.
For images already in Canva: Canva's Background Remover. No need to leave your design workflow.
For complex backgrounds or maximum precision: GIMP with the Paths tool. Takes longer but handles any image accurately.
For quick cutouts inside PowerPoint: PowerPoint's Remove Background tool. Convenient if you are already building a presentation.
For logos and icons: Browser-based tool handles flat-color backgrounds instantly. For vector logos, open in Illustrator and delete the background shape directly.
Common Cut Out Problems and How to Fix Them
The edges look rough or jagged after the cutout. This usually happens with raster-based cut out tools on images with soft or detailed edges like hair or fur. Use a feathering option if available, or try a different tool. Browser-based AI tools generally handle soft edges better than manual selection tools.
Part of the subject was removed along with the background. The subject and background may be too visually similar in that area. In manual tools like GIMP, zoom in and use the Paths tool to retrace that specific edge precisely. In AI-based tools, try a higher resolution version of the image, which gives the detection algorithm more information to work with.
The downloaded file shows a white background instead of transparency. The file was saved or exported as JPEG. JPEG does not support transparency. Re-export the file as PNG and the transparent areas will be preserved.
The cut out looks correct on screen but prints with a white background. The PDF or print export settings replaced transparency with white. In the export dialog, look for a Transparency or Background option and set it to none or transparent.
Frequently Asked Questions
Is there a free cut out tool that works without creating an account? Yes. ReverseToolkit's background remover works in your browser without an account, login, or subscription. Upload an image, get a transparent PNG, and download it. No sign-up required.
Can a cut out tool handle hair and fine details? AI-based cut out tools have improved significantly and handle most hair and fine edge cases accurately on clean, well-lit images. For complex cases with motion blur, fine strands against similar backgrounds, or low-resolution source images, manual tools in GIMP or Photoshop give more control.
What file format should I save a cut out image as? Always PNG. PNG is lossless and supports full transparency. JPEG does not support transparency and will fill the cut out areas with white. SVG is the best choice for logos and icons that need to scale to any size.
Can I cut out multiple images at once? Some dedicated background removal services offer batch processing. ReverseToolkit processes one image at a time with no file limits. For bulk jobs, dedicated batch tools or Photoshop actions are more efficient.
Does cutting out an image reduce its quality? No. Removing the background does not affect the pixels of the subject. The subject is preserved at its original quality. PNG is a lossless format so there is no compression loss during export.
Cutting out an image used to require learning Photoshop. Browser-based AI tools have changed that. For most images, you upload, the tool detects the subject, and you download a clean PNG in under ten seconds. For the small percentage of images that need more work, free tools like GIMP give you the precision to handle anything. The right tool depends on your image, your workflow, and how much time you have.